🌶️ Pick, Pack, Ship & Deliver SOP
Choose a section to begin.
🖨️ Printing SOPs
Order printing and shipping label printing — step-by-step guides for both.
🏪 Adding a Store to the Website
How a new wholesale store gets added to the Dos Margaritas In Stores page. Work through the sections in order — by the end you'll have added a real store and checked it on the live site.
1 — Before You Start
A little context first — then we'll add a real store together, start to finish.
Where New Stores Come From
Every store on our website started as a wholesale order. Those orders arrive from three places — and all three are handled the same way:
Where a Store's Info Goes
Think of a new store landing on a launch pad, then traveling to three destinations across our systems:
So customers can see we sell our salsa at that store — e.g. "Bering's in Houston."
Our customer database (currently HubSpot — may change). Keeps every account in one place.
So the store gets our wholesale emails — promotions, new images, holiday notes.
Texas or Not? Pick the Right List
Our In Stores page is split into two lists. Before you do anything, ask: where is this store located?
Top section of the page.
Examples:
Further down the page. A shorter list — for now.
Examples:
What You Need
• Access to our Shopify site (the platform our website runs on), and
• Basic Shopify navigation — or training on it.
Don't have access or feel unsure getting around Shopify? Ask Maggie before starting.
2 — Open Your Two Screens
You'll work with two browser tabs side by side: the live page (to check your work) and the builder (to make changes).
Open the Live "In Stores" Page
This is your check screen — the finished page exactly as customers see it.
- In the Shopify left menu, under Sales channels, click Online Store.
- Just beneath it, click Pages.
- The very first page listed is In Stores. Click View page (a single click).
- It opens the live page in a new tab. Leave that tab open the whole time.
Open the Builder (Editor) View
This is where you'll actually make changes.
- Switch back to your main Shopify dashboard tab.
- In the left menu, click Online Store (just above Pages).
- In the center you'll see a preview of the home page — currently "Big Texas Flavor" with a hand dipping salsa. Click that graphic to open the builder view.
- Up at the top-right, just under the address bar, there's a little house icon labeled "Home page" with a dropdown arrow. Click the dropdown.
- Scroll down to Pages and choose Stores.
Find the Two Map Sections
Now you're in the builder view of the Stores page. On the left, under Template, look for two little map-dot icons:
These hold the Texas and non-Texas store lists you saw on the live page. Expand the one for your store's region (click it open). You'll see the existing stores listed — Baropa Farmhouse, Beau's Market Deli, and so on.
3 — Add & Name the Store
We'll follow one real example all the way through: Mountain Market & Supply in Eagle, Colorado.
Pick the Store From the Order
Use the shipping address on the order to decide Texas vs. Other States, then open that map section in the builder.
Click "Add Store"
Underneath your chosen map section, click the blue Add Store button.
On the far right, a new panel opens — like a little index card. This is where you'll add the name, address, website, images, and map pin.
Give It an Internal Name (ALL CAPS)
At the top of the right panel, just under the black Save button, there's a field labeled Store. Type the store name here in ALL CAPS:
Hit the black Save button so the card is ready.
Drag It Into Alphabetical Order
Do this now so you don't forget later. On the left menu, click and drag the new store into its alphabetical spot in the list.
Set the Customer-Facing Name
Back on the right panel, the next box down is Name (it starts as "My Store"). This one is what customers see, so use normal capitalization.
- Turn Caps Lock OFF.
- Type the real store name — e.g. Mountain Market & Supply.
- Hit Save, then cross-check the spelling against the order.
4 — Address, Website & Map Pin
Now we fill the index card: the address, the website link, and the map coordinates.
Look Up the Store on Google
In a new tab, Google the store name + city + state — e.g. "Mountain Market and Supply Eagle Colorado."
Google's business panel gives you the two things you need: the street address and the website. Cross-check the address against your order to make sure it's the same store.
Enter the Address (Envelope Style)
On the right panel, find the Store details box. It starts with placeholder text — "123 John Doe Street…". Delete all of it (we don't list store hours).
Type the address like you're addressing an envelope — street on one line, city/state/zip on the next, then a blank line for the website:
Eagle, CO 81631
↵ (hard return — website goes here next)
Add the Website (Clean URL)
Back on Google, copy the store's website and paste it on that third line.
google.com/url?… with random letters and numbers). You want only the clean address — e.g. mountainmarketandsupplyeagle.square.site.Once the website is pasted, hit Save.
Set the Map Pin (Latitude & Longitude)
The pin is still out in the ocean — the address text alone doesn't move it. Scroll the right panel down to the Map pin section, which has a Latitude and a Longitude box with wrong default numbers.
- Google "latitude longitude [street address]" — use the street address, not the business name. You'll get better results.
e.g. "latitude longitude 112 W 2nd St Eagle Colorado" - Copy the Latitude (e.g. 39.6552) into the Latitude box.
- Copy the Longitude into the Longitude box — keep the minus sign (e.g. -106.8294).
Hit Save one more time.
5 — Make It Clickable & Verify
Two things left: turn the website into a real clickable link, then confirm everything on the live page.
Make the Website a Clickable Link
Pasting the web address as text isn't enough — it needs to be a true link. In the builder:
- Click the store in the center so it gets a blue highlight box.
- In the Store details box, select the website text you pasted (include the https://).
- Click the Insert Link icon at the top of the box (the chain/link icon — shortcut ⌃K).
- Paste the URL into the link field.
- Check "Open this link in a new window."
- Add a Link title (for accessibility & SEO) — e.g. Mountain Market Website.
- Click Insert. The website text becomes underlined, like a live link. Hit Save.
Verify on the Live Page
Switch to your live In Stores tab and refresh. Scroll to the right section (Texas or Other States) and find your store. Click the + to expand it, and confirm:
- ✅ The correct black dot grows bigger on the map in the right place.
- ✅ The address shows correctly.
- ✅ The website is underlined, turns red on hover, and opens in a new tab when clicked.
- ✅ The Get directions button appears (it's added automatically and works for customers).
Completion Checklist
Run through this before you call the store done:
Known Issues & Reporting Snags
1 — Pre-Packaging
Complete all four steps before any box is built or jar is packed.
Review Your Orders
How it works: The order leaves via a shipping carrier — you won't personally deliver it.
Examples:
- Shipping cartonShipping Carton
- Void fillVoid Fill
- Shipping labelShipping Label
How it works: You personally drive the order to a local Houston-area store.
Examples:
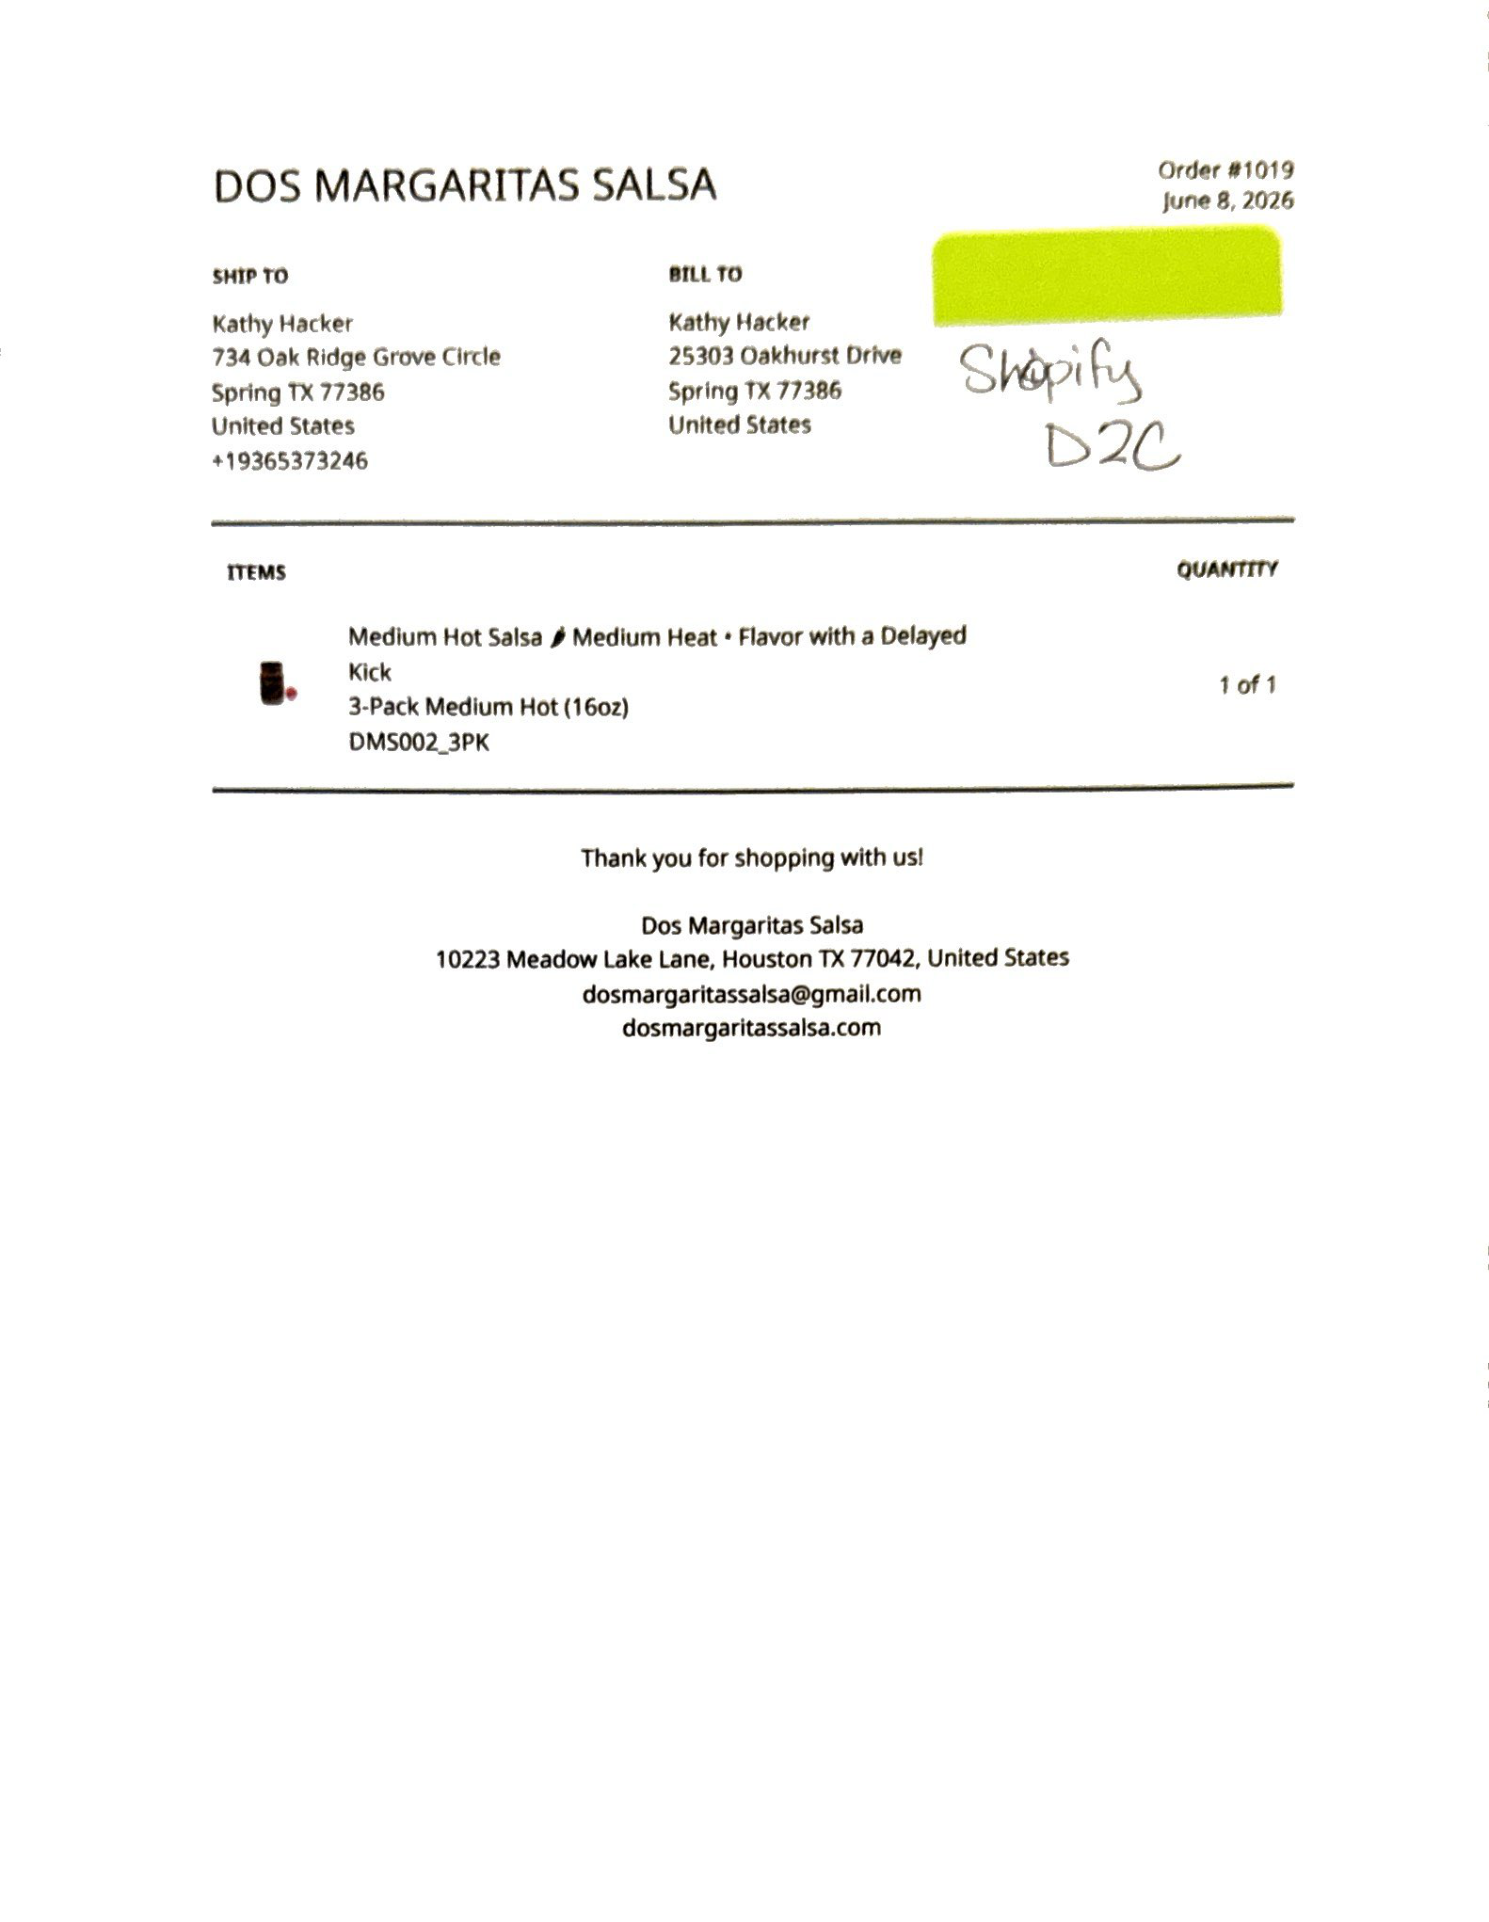
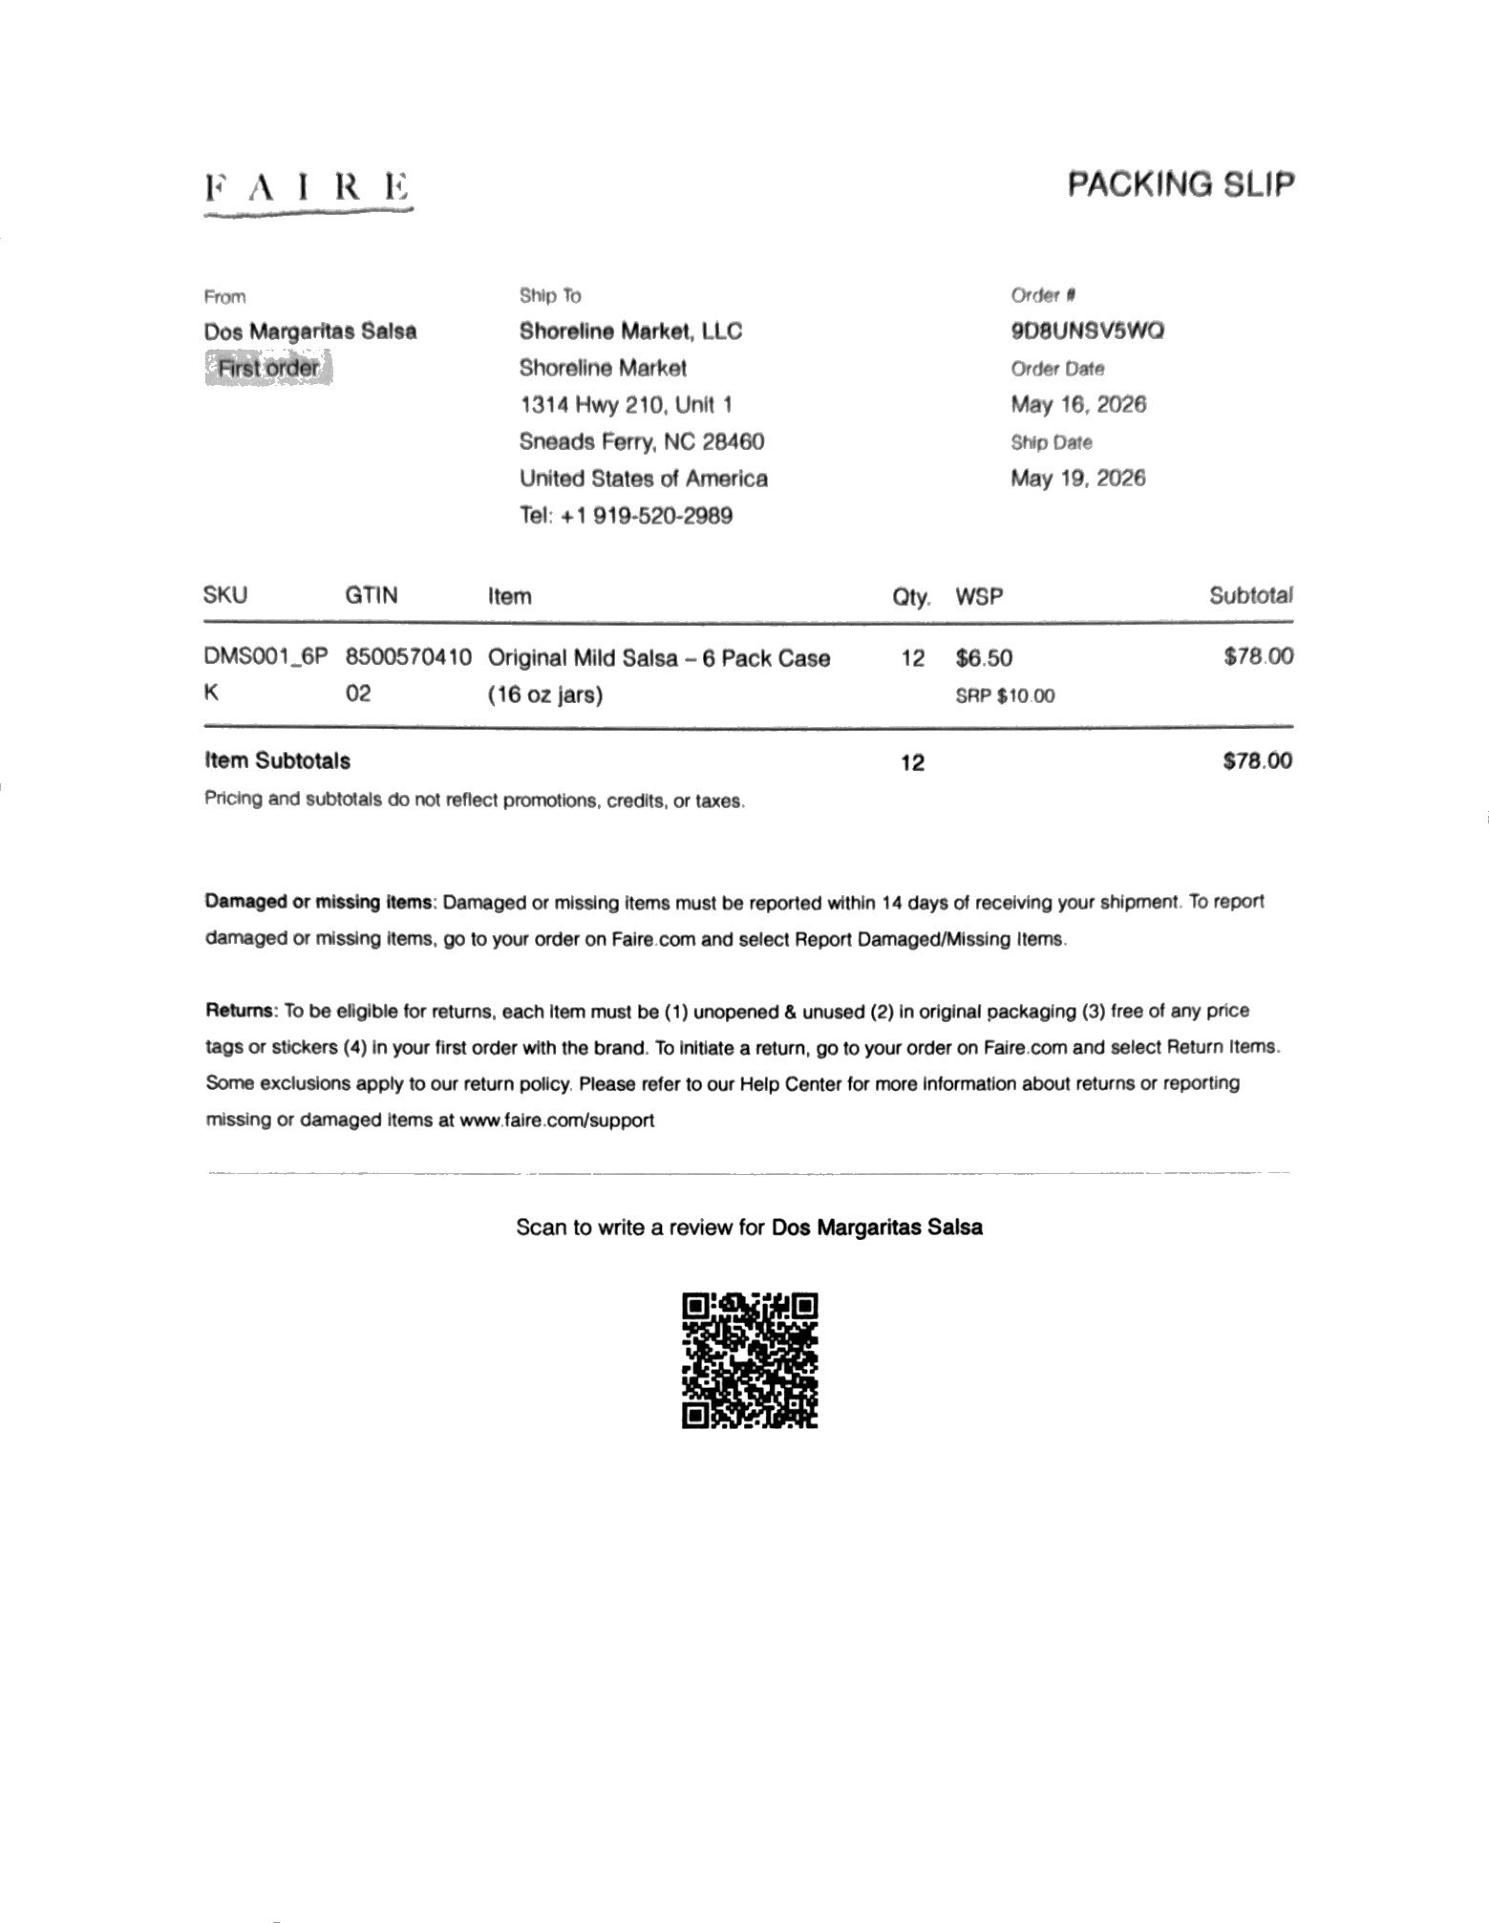
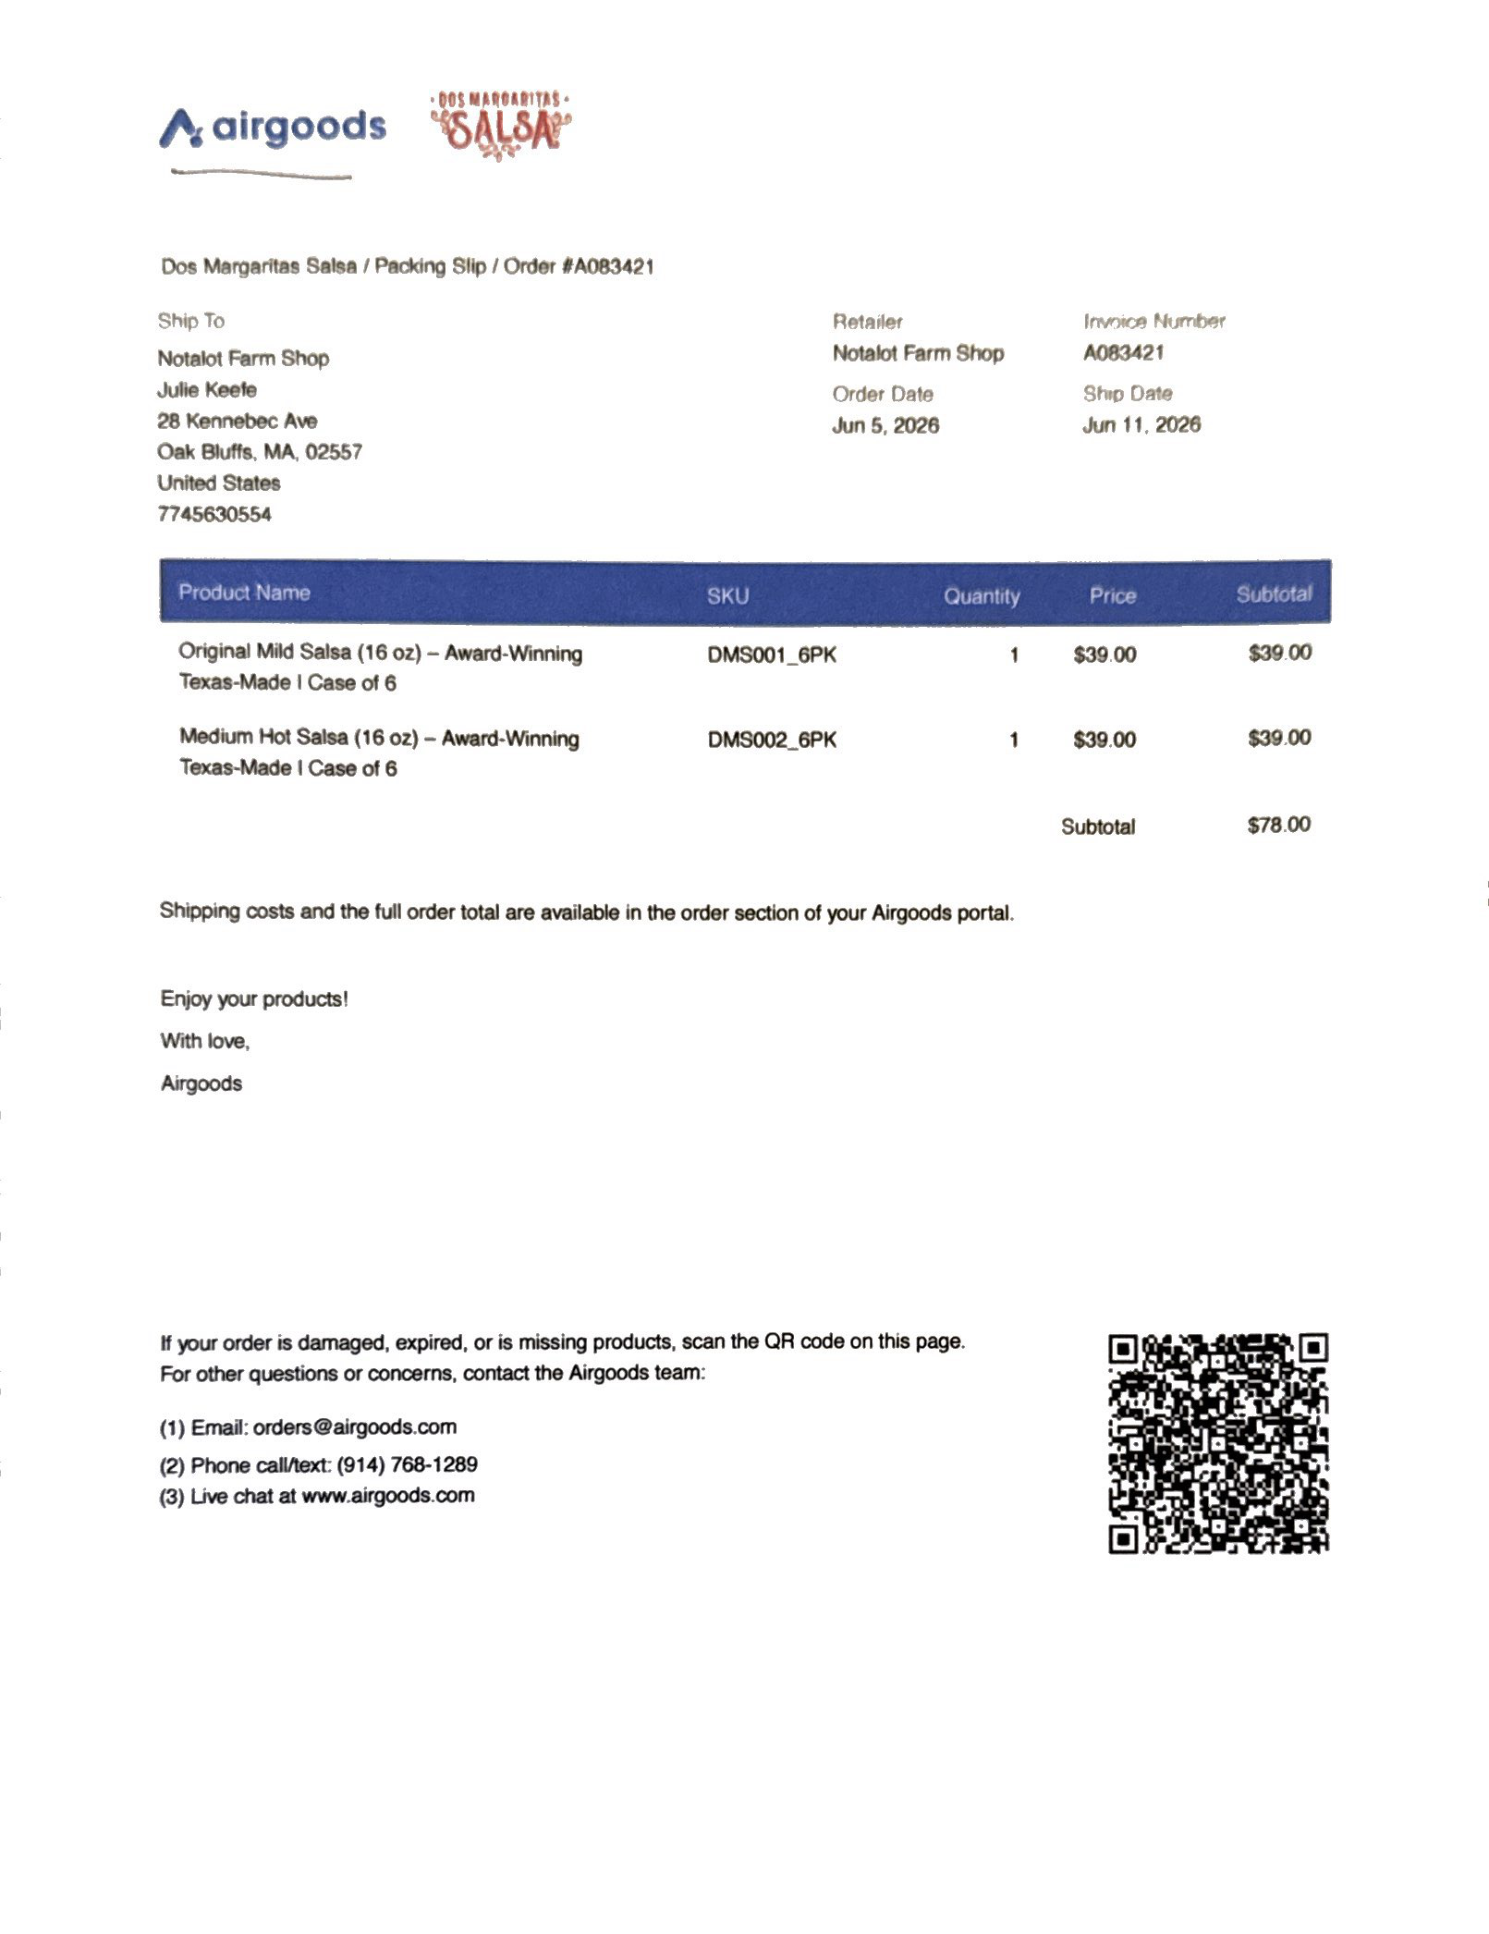
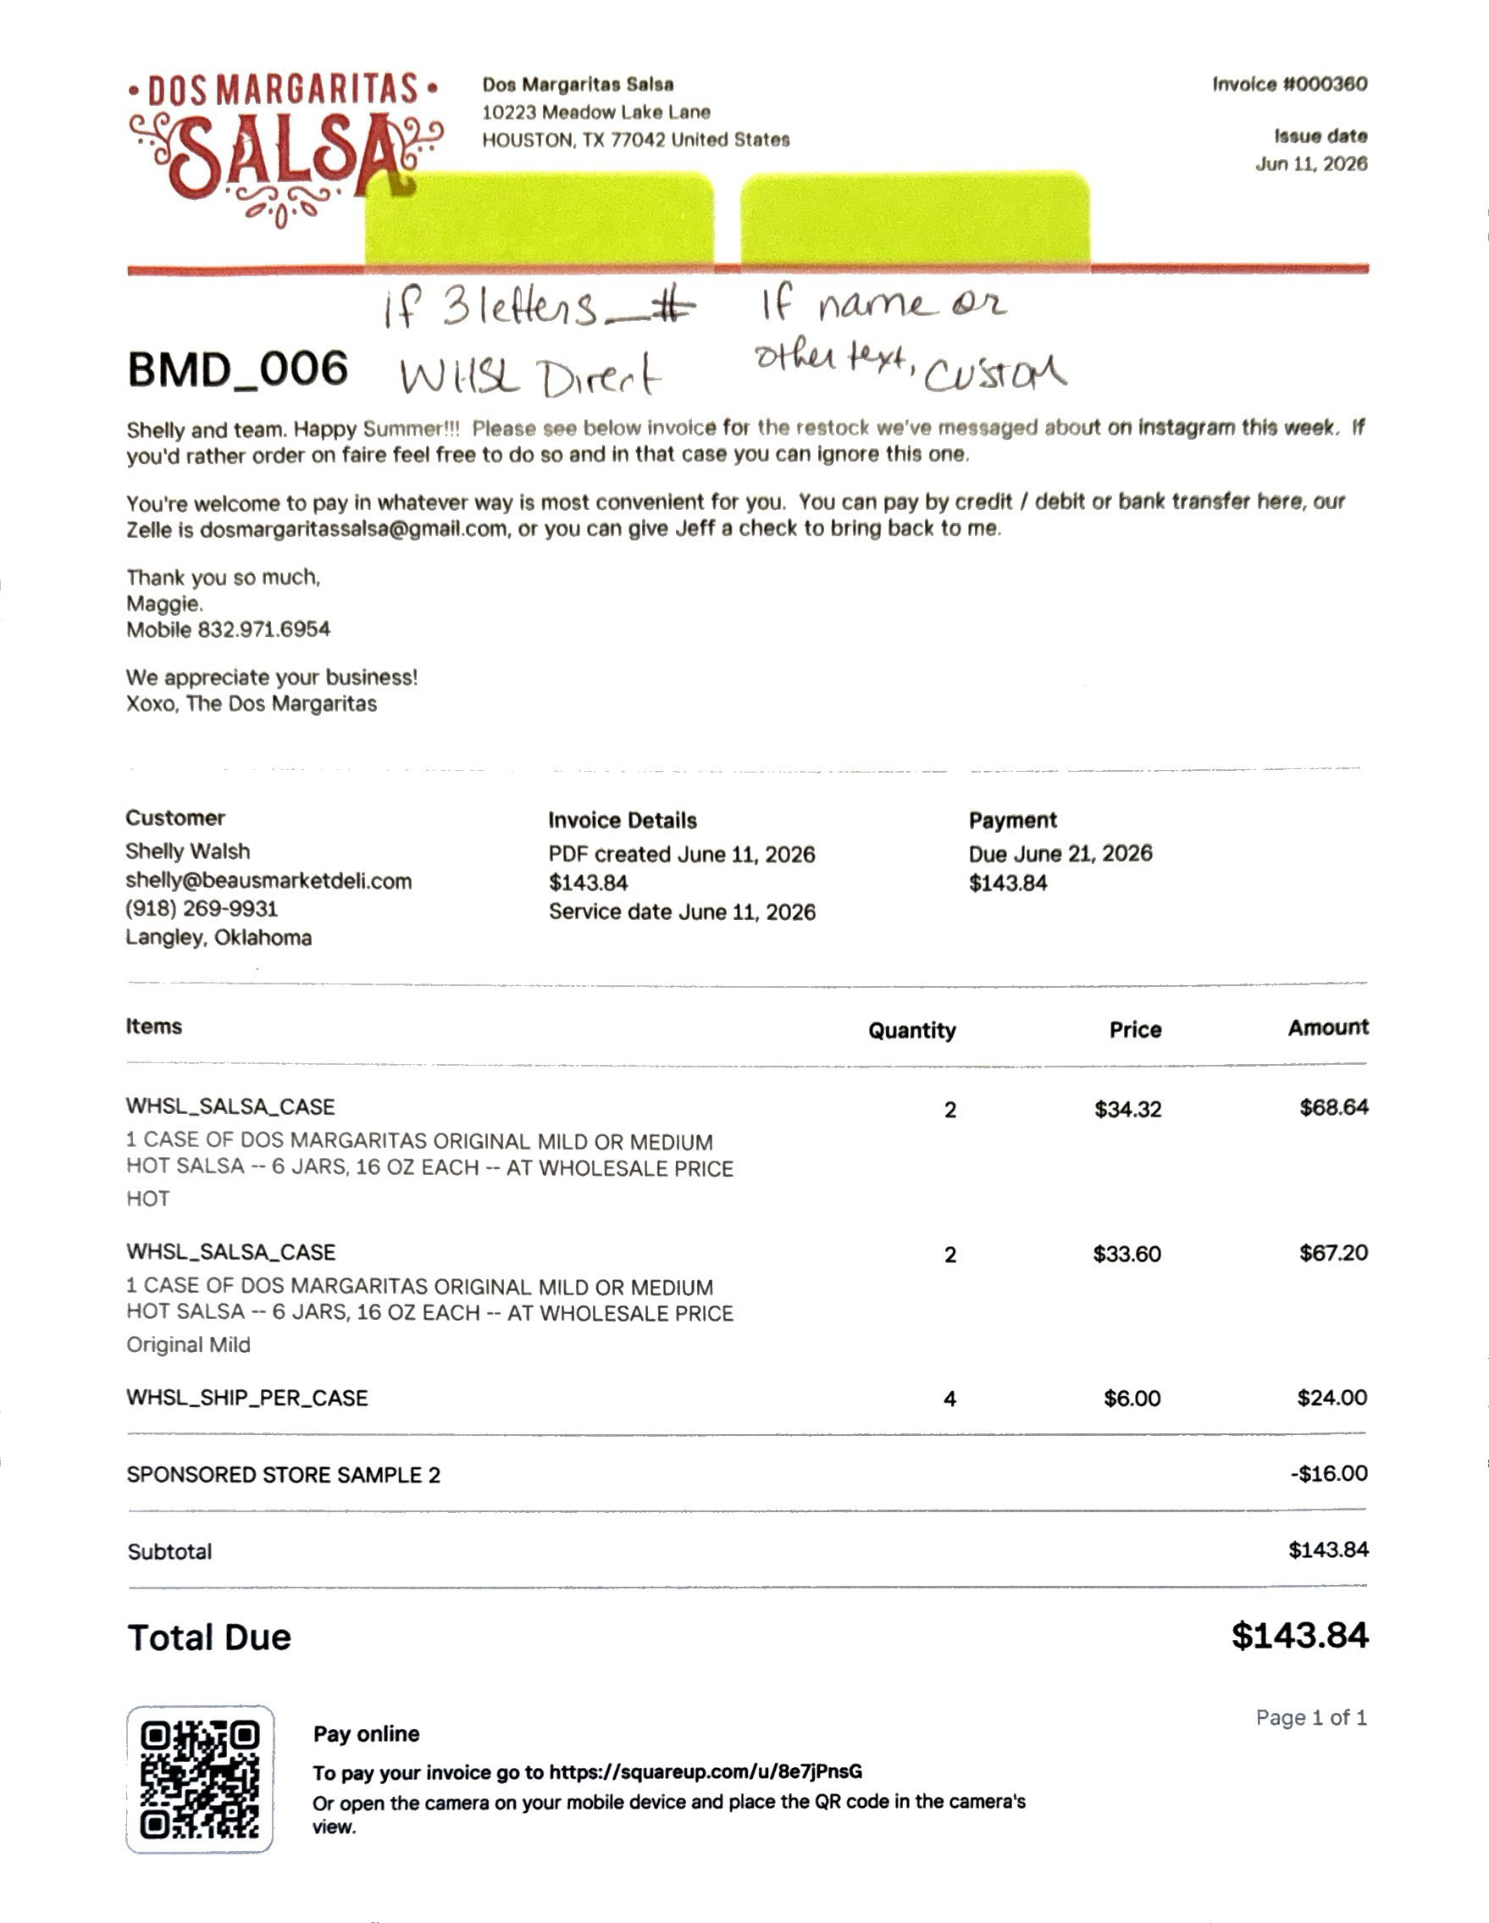
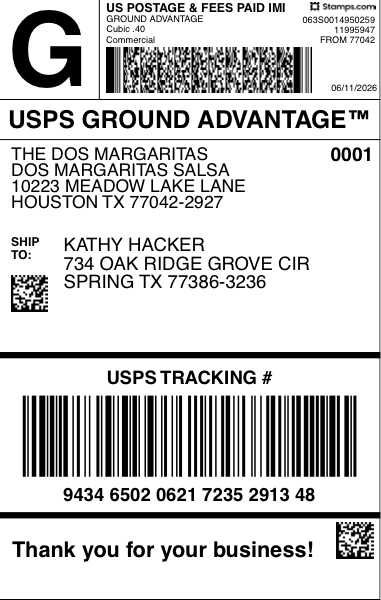
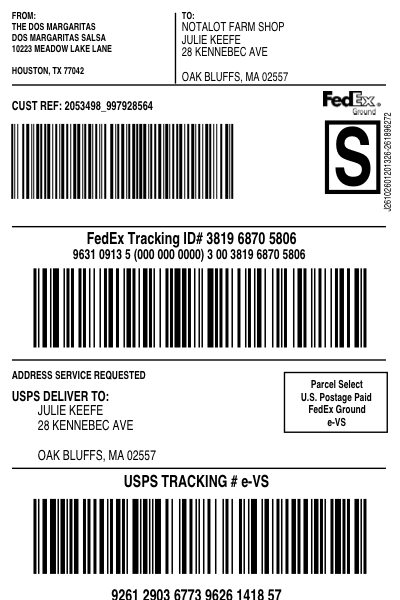
Each channel prints differently — here's what to expect from each one:
Set Up Your Workspace
Before packing anything, prepare a clean, clear work surface with enough room to hold everything at once.
Locate the supply bin and bring it to your area. It contains everything you'll need:
Pull Product
Retrieve inventory from the home inventory area. You should not need to go to the offsite warehouse — Maggie will notify you if that ever changes.
Check the shared inventory tracker before pulling product:
- Mild salsa below 8 cases on shelf
- Medium Hot salsa below 5 cases on shelf
- Any inventory appears damaged
Wholesale Sticker Check
Now determine whether each order is Direct Consumer or Wholesale — this decides which stickers go on the jars.
If the order is a Direct Consumer order, use jars exactly as they are — no award stickers of any kind.
If you are not 100% sure whether an order is Direct Consumer — STOP and ask Maggie before touching the jars.
Sticker: White circular Scovie Award sticker
Placement: Bottom right of the label, over the existing award emblem
Sticker: Silver Mylar circular sticker
Placement: Centered directly on the black lid
2 — Packaging & Labeling
Work methodically through each step — order and quality matter.
Box Preparation
Maggie pulls boxes from the garage before you arrive. If the box count doesn't match your orders — stop and notify Maggie.
Build Boxes
Use the same 3-strip method on top when closing later.
Do not cover the box dimension label with folded flaps — this is needed when matching shipping labels.
Bubble Bagging
Every individual jar shipped loose must be bubble bagged before packing.
Pack Your Orders
Goal: prevent movement, breakage, and contact with carton walls.
- Landscape (horizontal) layer of fill
- Portrait (vertical) layer on top
- Place jars
- Single layer of fill
- Insert cases
- Add minimal fill as needed
Roll bubble wrap or packing paper into a tight "burrito" to fill large empty spaces. Clean scrap cardboard also works well when the box is larger than ideal.
Apply Box Stickers
- 4 per box total
- 2 per side (both long sides)
- No fragile stickers on top or bottom
- Long rectangular Dos Margaritas Hot Salsa sticker
- Centered near the bottom of the long side of box
Inserts
- Packing slipPacking Slip
- Handwritten thank-you note on the slip
- Nothing else unless Maggie instructs
- Packing slip + thank-you notePacking Slip
- Story sheet (in a sheet protector)Story Sheet
- Correct line sheet (in a sheet protector)
- Shelf talkers + shelf talker holderShelf Talkers
- Packing slip + thank-you note
- Shelf talker kit when appropriate (if not sure, just ask Maggie!)
Quality Check
Before closing any box — Stop. Check. Then continue.
Press lightly on the top flaps with the heel of your hand:
- ✅ PASS: Box resists — close it
- ❌ FAIL: Box compresses — add void fill and retest
Close & Identify Boxes
Close using the same 3-strip tape method on top.
Before any shipping label is attached, write lightly on top:
Cleanup
While Maggie generates labels — or when packaging is done for the day:
3 — Shipping & Delivery
Get every order into the right hands — carrier or store — the same day it's packed.
Apply Labels & Stage
Attach shipping labels provided by Maggie or refer to the Shipping Label Printing SOP to print them yourself. Before sticking each one, verify:
- Label matches the correct order
- Label is secure and flat — no bubbles or peeling edges

After labeling, stage completed shipments in the designated staging area — grouped by carrier or store, ready to load.
Types of Deliveries
Goal: Every order packed today enters the carrier system today — whenever practical.
- Keep all drop-off receipts and bring them to your next work session
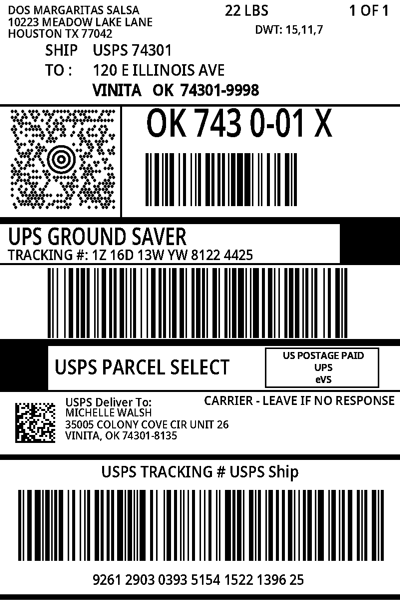
📦 UPS Ground Saver — Scanning Tip
- Always use the top barcode when scanning
- Scanner struggling? Cover the lower barcode with your hand and scan the upper one only
🗂️ Before You Leave — Gather:
- Product (correctly packed and labeled)
- Packing slip for each store
- Shelf talkers, if required for that order
🤝 Delivery Standard
Be respectful, helpful, and professional. You represent Dos Margaritas at every store.
💬 Upon Arrival:
Follow the store's preference.
💬 When Order Is Complete:
When delivering to multiple locations of the same chain, label each box before loading so nothing ends up at the wrong store.
Never leave salsa in a hot vehicle for extended periods.
- ✅ OK overnight — temperature under 80°F and delivery is next morning
- ❌ Not OK — multiple days in a hot vehicle
- ❌ Not OK — exposure to high heat
4 — Finish the Order!
An order isn't done until it's reported. Close the loop every time.
Completion Report
📤 Shipping Report Examples
- "4 packages dropped at UPS."
- "2 packages dropped at USPS."
🚚 Delivery Report Examples
- "PepperLou delivered."
- "Bering's Westheimer delivered."
📅 End of Day Summary
Always include:
- Orders packed
- Orders shipped
- Orders delivered
- Inventory concerns
- Supply concerns
- Any customer issues
Thursday Logistics Complete
3 Shopify orders shipped
2 wholesale deliveries completed
Mild inventory low
Need 13x13x7 boxes
No issues
Damage Log
Track any of the following whenever they occur:
- Broken jars
- Leaking jars
- Crushed cartons
- Damage reported by a store after delivery
📝 Record for Each Incident:
- Date
- Order (order number or customer name)
- Issue (what happened)
- Resolution (what was done)
When to Escalate to Maggie
Stop and contact Maggie immediately if:
- Inventory count doesn't match the order
- Product appears damaged or spoiled
- Wrong sticker inventory is available
- A packing slip is missing
- You're unsure whether an order ships or delivers
- The box size doesn't fit the order
- Packaging materials are unavailable
- A customer disputes a delivery
- A store refuses an order
- You identify a safety concern
- You are unsure what to do next
📦 Inventory
Update counts whenever you pull product. All employees share this table — changes are saved to this device until Firebase is connected.
| 🌶️ Hot Salsa | 🫑 Medium Salsa | ⚠️ Damaged Salsa |
|---|---|---|
📷 Needed Photos Checklist
Every photo still needed in the SOP. Tap an item to jump to where it belongs in the guide.